
Almost every description of the lemon peel stitch mentions how it looks like an actual lemon peel and I don’t know, maybe if I take my glasses off it does? It’s surprising that a stitch pattern consisting of two alternating stitches creates so much texture. I’ve tried this stitch with several different types of yarn and it maintains this nice definition with every one.
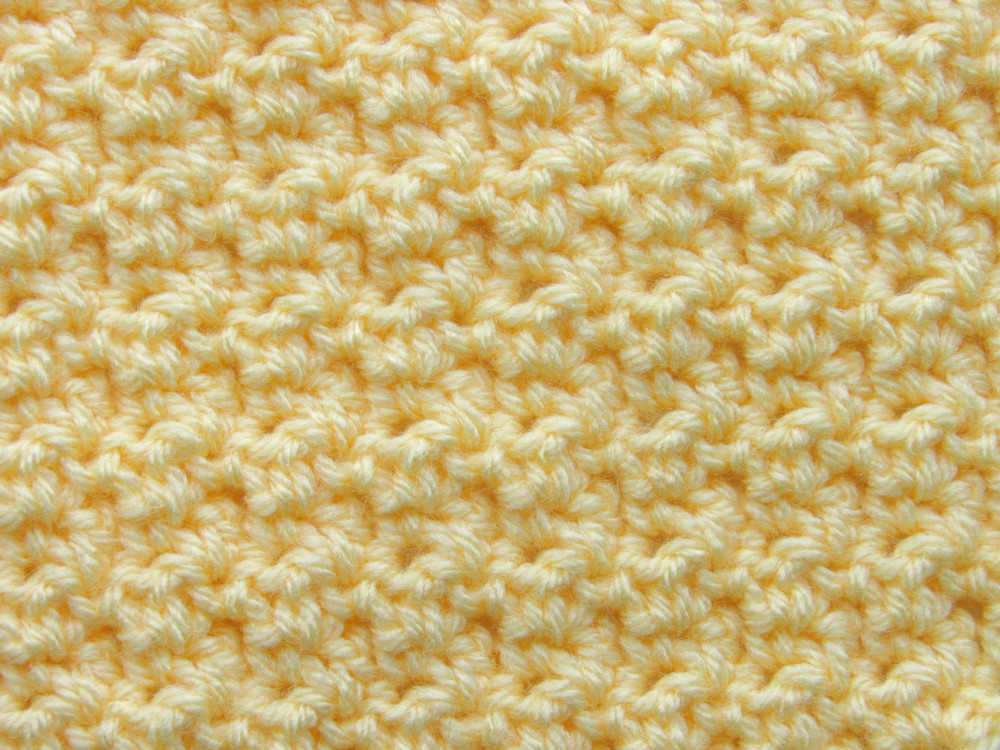
A basic description of the lemon peel stitch is working alternating single crochet and double crochet stitches across any number of stitches. Depending on the number of stitches, you either always start with a single crochet (even number of stitches) or alternate between starting with a single crochet or double crochet (odd number of stitches).
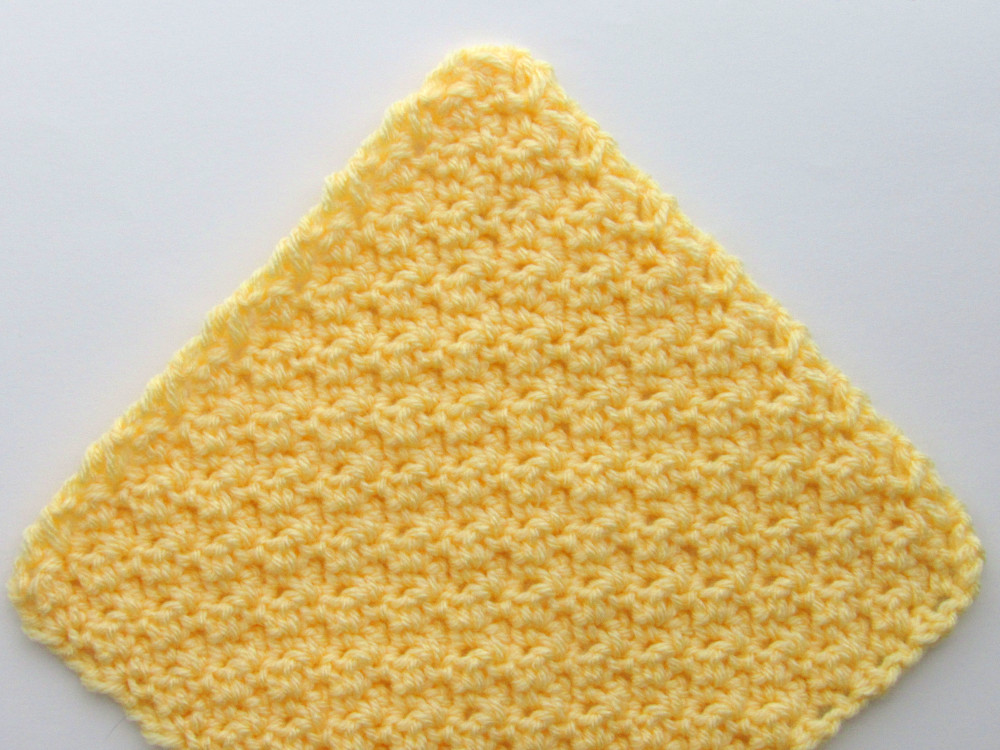
This C2C lemon peel stitch pattern is going to modify the lemon peel stitch at the beginning and the end of the rows to create a C2C piece that runs on the bias. It starts with creating a ch-2 space at the beginning of each row that will be worked in at the end of the next row. This means you’ll be making an increase of two stitches per row. When it comes to decreasing, with the exception of the first decrease row, a total of two decreases will be made per row. One decrease will be made at the beginning of a row while the second will be made at the end.
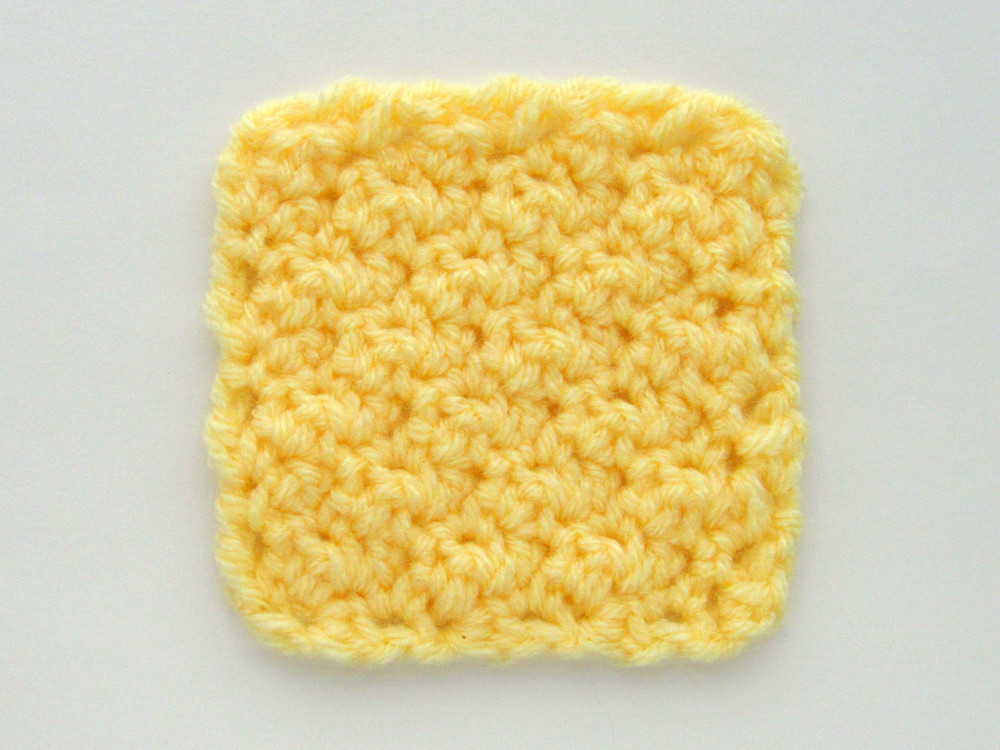
Below are text instructions for making a C2C lemon peel stitch crochet square. A pdf download of this pattern that contains step-by-step photo guides along with instructions for making a C2C lemon stitch rectangle can be found at my etsy shop here. You can also favorite/queue it on ravelry here.
Materials:
Any kind of yarn
A crochet hook in a size appropriate for the yarn used
Yarn needle for weaving in ends
Stitch markers are recommended for marking the ch-2 spaces created at the beginning of rows.
Stitch abbreviations (in US terms):
C2C: Corner to Corner Crochet
ch: chain stitch
sc: single crochet
dc: double crochet
sc/dc dec: sc/dc decrease
st/sts: stitch/stitches
* *: repeat instructions in between asterisks as often as indicated
[ ]: everything in the brackets is worked in the same stitch
Notes:
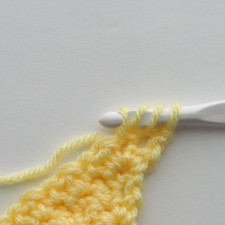
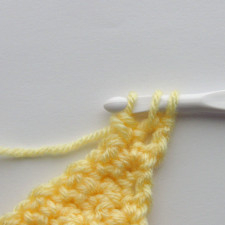
A. The pattern refers to this as a “sc/dc decrease (sc/dc dec)”. To make a sc/dc dec, complete the following steps:
- Insert your hook into the first stitch, yarn over and pull through (2 loops on the hook).
- Yarn over and insert your hook into the second stitch (3 loops on the hook).
- Yarn over and pull through the second stitch (4 loops on the hook).
- Yarn over and pull through 2 loops (3 loops on the hook).
- Yarn over and pull through the remaining 3 loops.
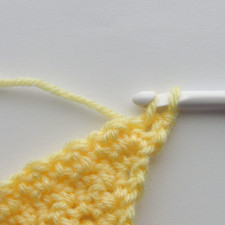
B. ch-2 spaces: a ch-2 space will be created at the beginning of each row. This space will not be worked in until the end of the following row. That space might be hard to get to if you’re not used to it. So after chaining 2 at the start of the row, take a stitch marker and place it around the chain that’s closest to the hook before you make the next stitch. This can help you find that space when it needs to be worked in the next row.
C. In the “CLOSING THE LEMON PEEL STITCH SQUARE” section, you will see the directions “turn your work and ch 1”. This ch 1 is a turning chain that does not count as a stitch and will not be worked in later in the pattern.
STARTING THE C2C LEMON PEEL STITCH
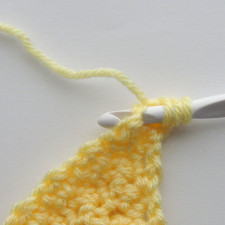
Row 1: ch 3 and make [sc, dc] in the third chain from the hook.
Row 2: turn your work and ch 2. Make a sc in the third st from the hook (the dc of the previous row) and a dc in the next st (the sc of the previous row). Make [sc, dc] in the ch-2 space.
Row 3: turn your work and ch 2. Make a sc in the third st from the hook and a dc in the next st. Make a sc in the next st and a dc in the next st. Make [sc, dc] in the ch-2 space.
Row 4: turn your work and ch 2. Make a sc in the third st from the hook and a dc in the next st. *Make a sc in the next st and a dc in the next st.* Repeat * * to the ch-2 space. Make [sc, dc] in the ch-2 space.
Row 5+: Repeat Row 4. When you reach the desired size, move to the next section.
CLOSING THE C2C LEMON PEEL STITCH SQUARE
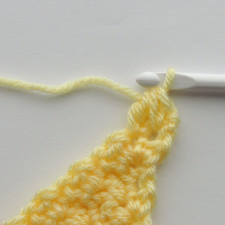
Row 1: turn your work and ch 1. Make a sc/dc dec across the first 2 sts. *sc in the next st, dc in the next st* Repeat * * to the last st and the ch-2 space. Make a sc/dc dec across the last st and the ch-2 space.
Row 2: turn your work and ch 1. Make a sc/dc dec across the first 2 sts. *sc in the next st, dc in the next st* Repeat * * to the last 2 sts. Make a sc/dc dec across the last 2 sts.
Row 3+: Keep repeating Row 2 until you have 3 sts left. Then move to the Final Row.
Final Row: turn your work and ch 1. Make a sc/dc dec in the first 2 sts, then a sc in the last st.
